
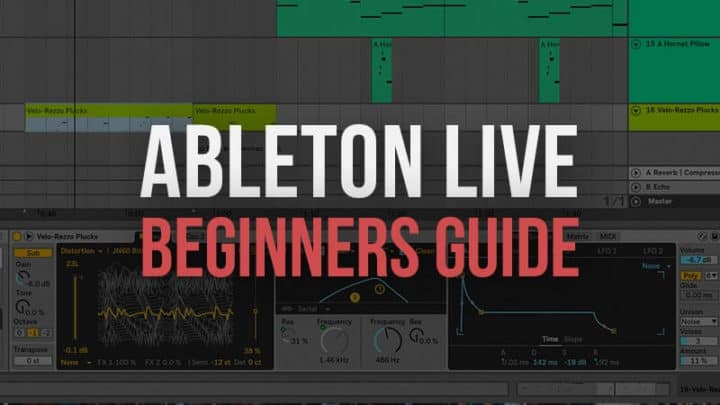
If you are new to Ableton Live, here are 8 helpful Ableton Live tutorials to get started with making music today.
As the name implies, Ableton Live has been designed for versatility and live performances.
There are so many ways in which you can generate sounds that many people actually deem it difficult ( even in comparison to FL Studio ).
Nevertheless, this did not stop it from becoming the most popular DAW Software program in the electronic music scene.
Because Ableton Live uses two distinct workspaces there isn’t just one way to create a song. Some use it as a sketch pad to scribble down musical ideas while others make it the studio’s centerpiece.
Related: 14 Best Ableton Courses Online
Ableton Live Tutorials
- Ableton Live Interface
- Session View
- Arrangement View
- The Mixer
- Recording MIDI
- Editing MIDI Clips
- Warping Audio
- Automation
1. Ableton Live Interface
You can start working in Ableton Live either in Session view or Arrangement view.
From both these views you can access the browser and the detailed view.
2. Session View
Besides the usual timeline approach, Ableton Live has developed a unique interface that uses a non-linear approach to creating music by using clips.
3. Arrangement View
Here you can lay out clips from the session view or you can record new audio or MIDI clips along a song timeline.


Last update on 2025-10-27 / Affiliate Disclaimer
4. The Mixer
The mixer allows you to adjust the volumes, pan sounds, record audio / MIDI, and use return tracks.
5. Recording MIDI
Select your MIDI channel, arm the track, and select your favorite record quantization option, then start playing.
If you forgot to hit record, Live 10 will remember everything you played through the Capture function.
6. Editing MIDI Clips
Ableton Live allows MIDI multi-clip editing.
You can edit up to 8 clips at a time in both session and arrangement view.
7. Warping Audio
Warping is a unique feature of Ableton Live which allows you to time-stretch samples and loops with different tempos without changing the pitch.
8. Automation
Use this feature to record changes in different parameters. You can either draw or record the automation in both the session and arrangement view.
Now that you’re all acquainted with Ableton Live, you’ll want to get started on your beat-making.
Do you have any favorite Ableton Live Tutorials?
Please share in the comment section.

Quite a comprehensive guide if you worked with daws before
Mark has done a great job at creating this Guide that will quickly enable budding producers to get started with Ableton Live.
Also, when I first discovered the MIDI Capture feature, it totally blew my mind. I could get those spontaneous (read sick) Beat Patterns back without going nuts, haha!
Cheers and Kudos on such a fabulous job.